Getting started
Connect your first scan source
How to connect your first scan source and find the secrets it turned up in the inventory once the scan finishes.
A scan source is a place where Cremit looks for secrets. Connect a repository or collaboration tool, then check target discovery, enablement and scan progress.
Open the scan source screen
Use either of these:
- The Connect a scan source button at the top of Dashboard, shown while your organization has no sources and no secrets yet
- Integrations › Scan Sources in the sidebar
Connect a source
- On the Scan Sources screen, select the service you want to connect from the list at the top.
- Follow the connection screen to let Cremit read that service.
- When you finish, you return to the Scan Sources list.
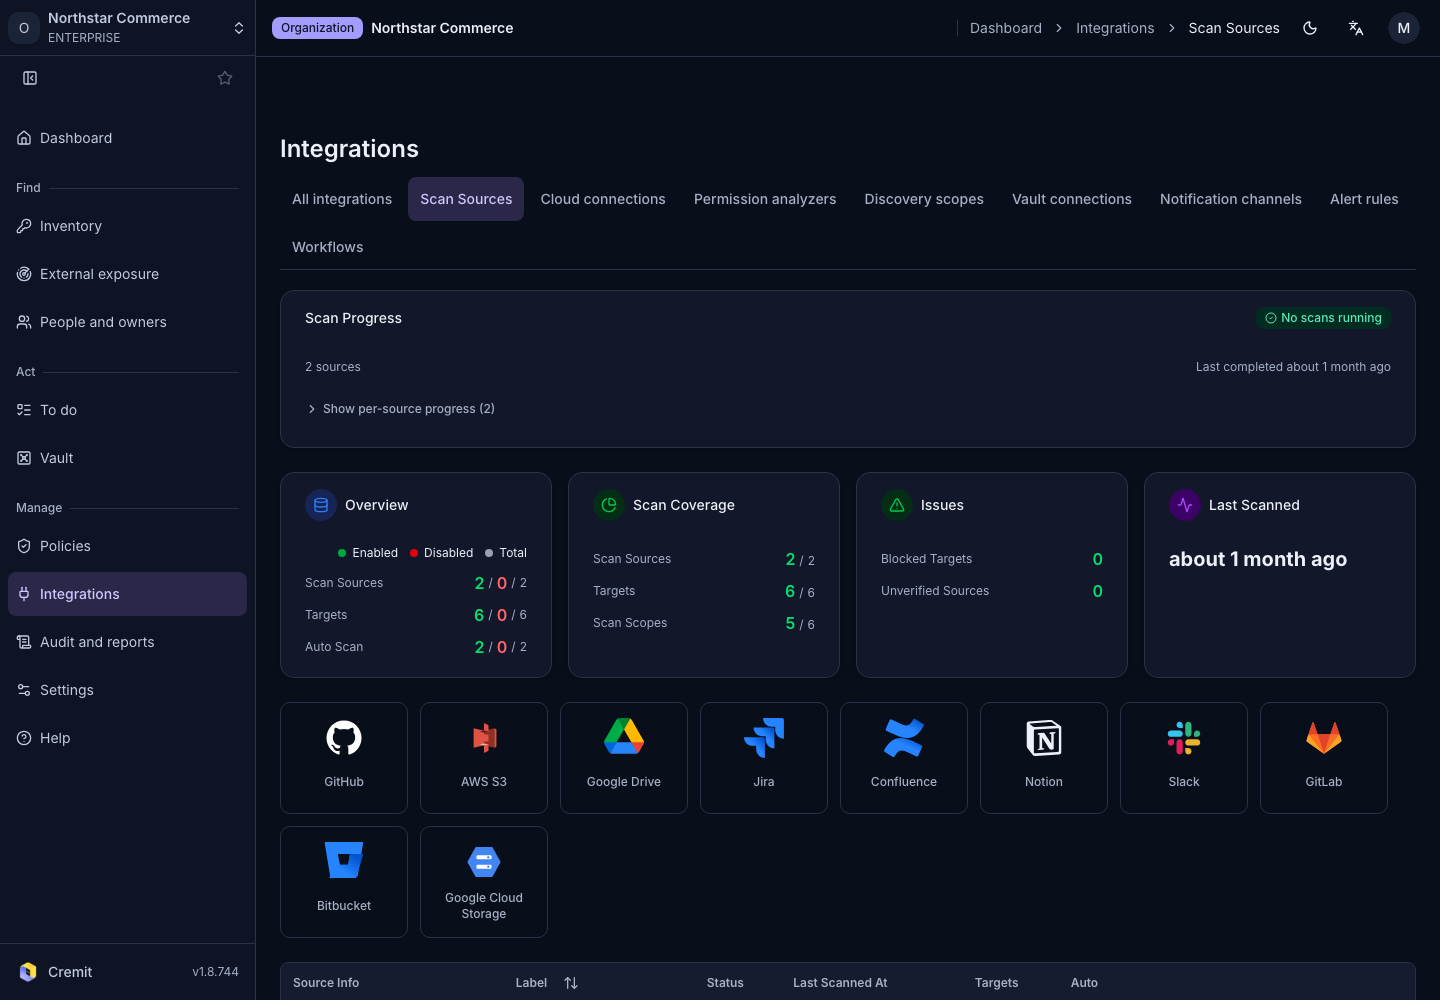
Each service connects differently. See, for example, GitHub, GitLab, Slack, Notion and AWS S3. The services in the list can vary with the features enabled for your organization.
After connecting
- The Status column shows the connection state. It changes to Verified once the connection is confirmed.
- Scan Progress at the top shows, for each source, whether a scan is running, finished or failed.
- Select a source to open its details. There you can turn scanning on or off for each target.
- With Auto-scan New Targets on, new targets are scanned automatically as they appear.
See the results
Secrets found by the scan appear in Inventory › All. Cremit checks whether each secret is still valid. Valid secrets that have not been handled yet are gathered in Needs action.
The verification result on each secret is explained in Verification status. For next steps, see Browse and filter secrets.
If scans keep failing, this also shows in Scan health on Dashboard. Check the source's access and reconnect it.